
Full 25-point door and opener safety check with every visit - springs, cables, rollers, tracks, and your LiftMaster or Chamberlain opener included
You get a price before we start. It does not change when the truck arrives.
 Before
 After
After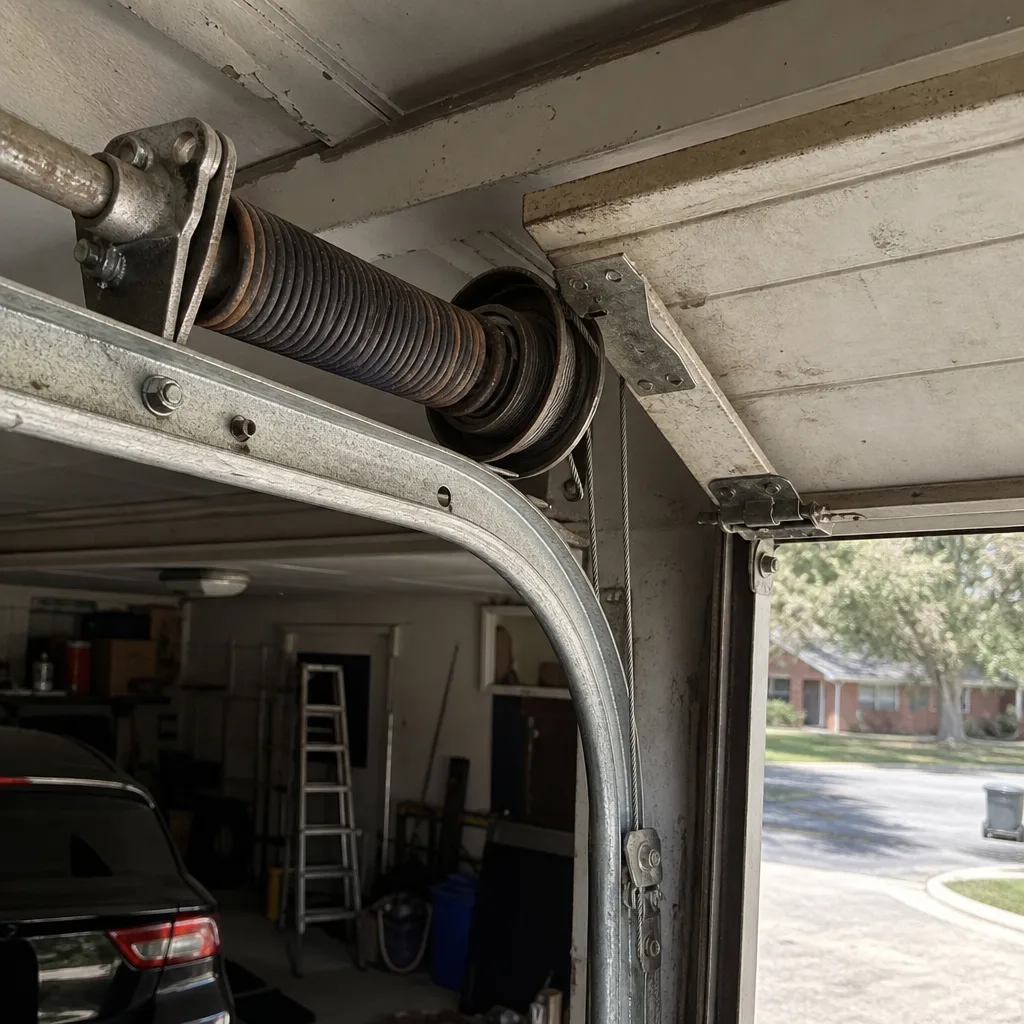 Before
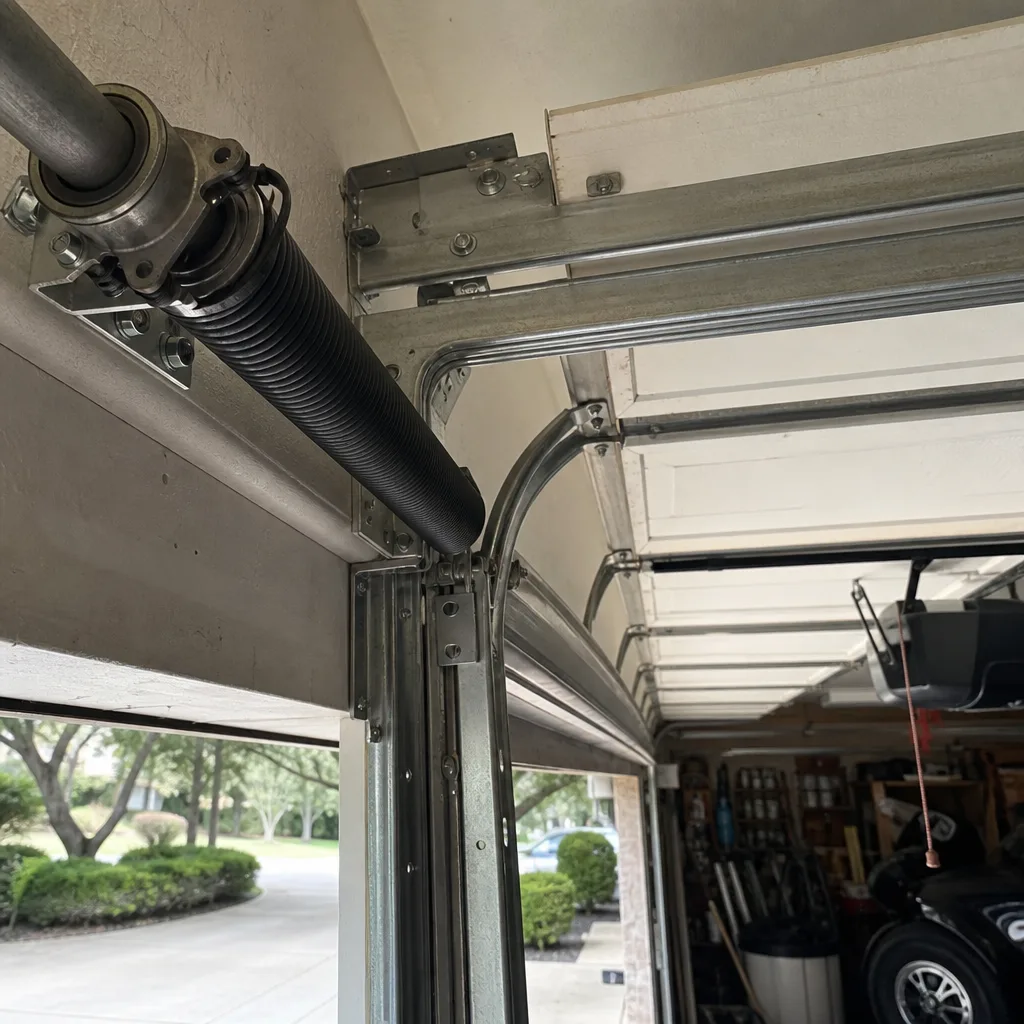 After
After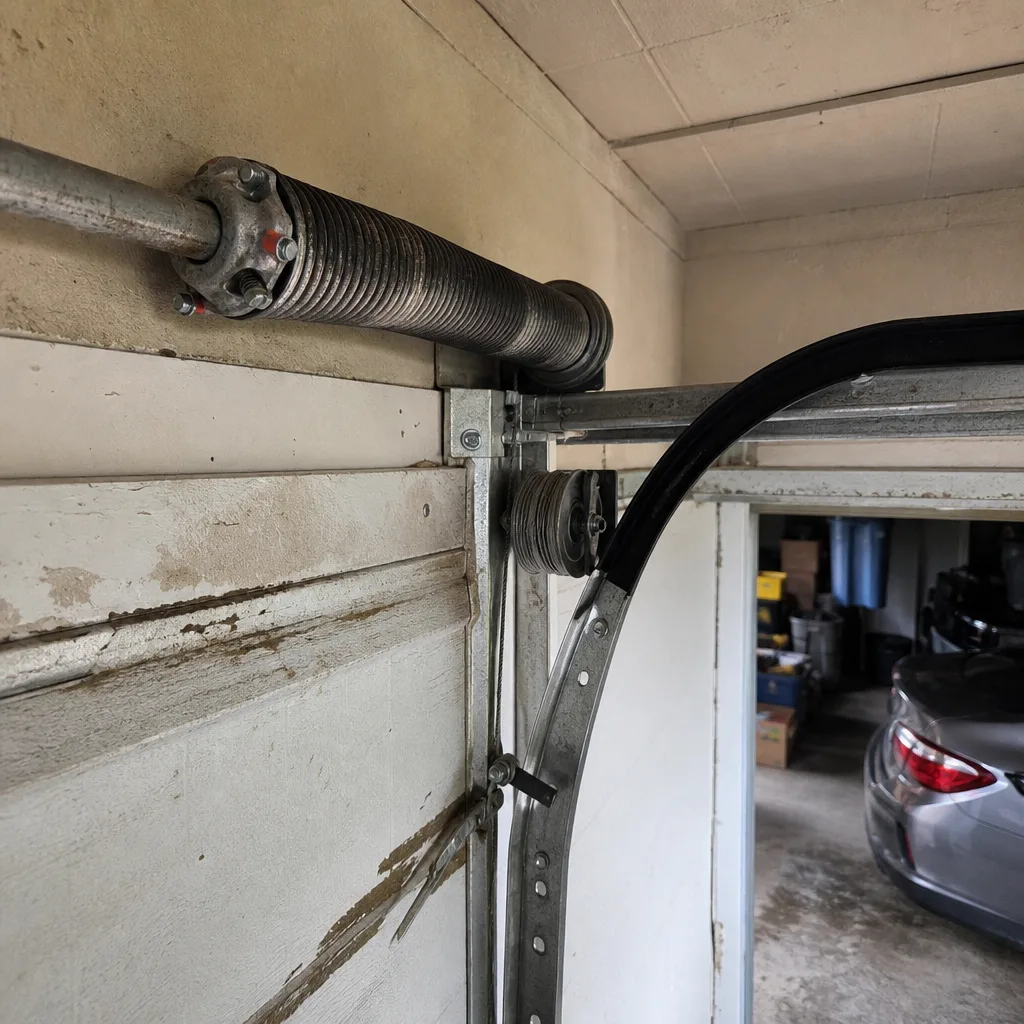 Before
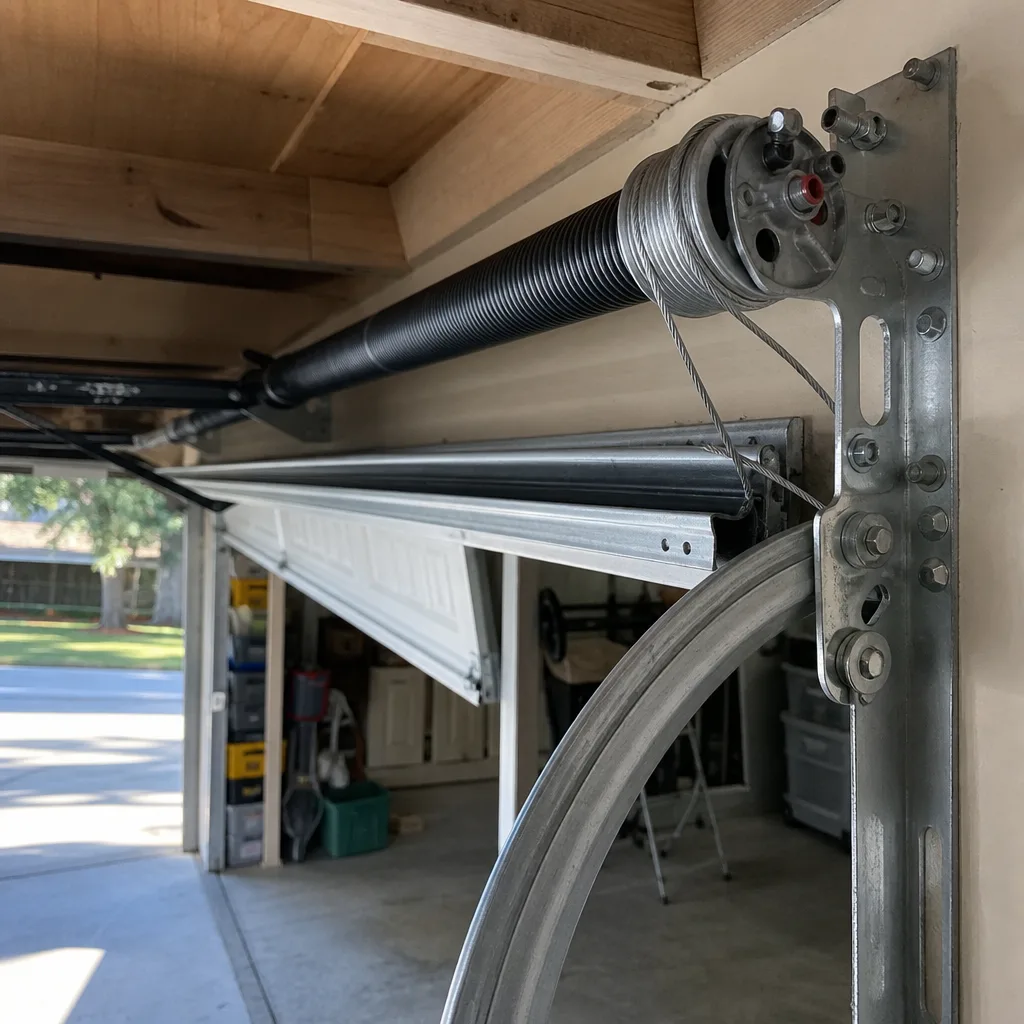 After
AfterCraftsman Opener Logic Board Repair: The Hill Country Village Owner’s Guide
A Craftsman opener logic board repair in Hill Country Village typically runs $120 to $320 installed, including the part and the labor to put it in right. We carry Craftsman-compatible logic boards on the truck for most models made after 1995, so in most cases we can do the swap the same day we show up. What most homeowners notice first is the opener acting strange: the wall button works, but the remotes don’t. Or the door opens but won’t close without holding the button down. That’s usually the logic board, not the motor, and it’s not a job for a parts-guesser.
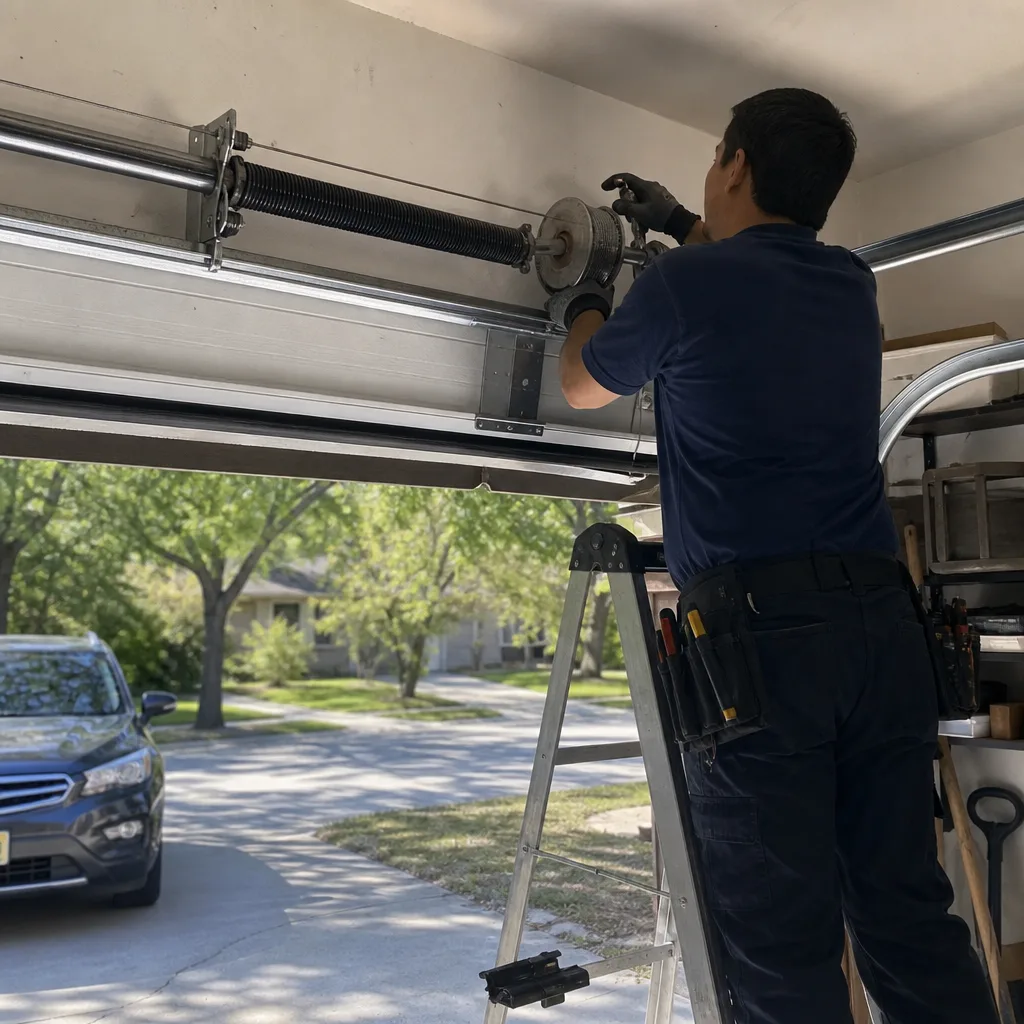
The logic board is the brain inside your Craftsman opener. When it starts to go, it does weird things before it dies completely. We see it often in Hill Country Village, and every time the homeowner has spent a few days fiddling with remotes and reprogramming before they call us. Save yourself the weekend: if the symptoms below sound familiar, it’s the board.
Which Craftsman Models This Applies To
We work on Craftsman openers across the common residential series: the 1/2 HP and 3/4 HP chain and belt drive models from the 139.xxxxx line, plus the newer Craftsman units sold alongside Chamberlain and LiftMaster hardware. The tricky part is that Craftsman didn’t manufacture their own openers. For years, Chamberlain built them. That means the logic board inside a Craftsman 139.53985 matches very closely to a Chamberlain or LiftMaster board of the same era, but the connectors, part numbers, and sometimes the wire colors are different enough to cause real headaches if you order by guesswork.
Here’s the compatibility gotcha we run into in Hill Country Village all the time: two openers that look identical on the outside can take different logic boards depending on the year, even within the same model number. Craftsman changed board suppliers and connectors multiple times over a decade. The only way to match it right is to read the part number off the board itself or the model label on the opener’s side panel, not just the cover plate number. We check that on site before we quote. For older Craftsman units from the 1980s and early 1990s, OEM boards aren’t made anymore, so we use quality aftermarket equivalents that match the original voltage and connector layout. We’ll tell you straight which situation you’re in before we order or install anything.
One honest note: Otto’s Garage Door is an independent local shop. We are not affiliated with Craftsman or any manufacturer. We just know their openers inside and out, and we stock the parts that fix them.
Signs Your Craftsman Opener Logic Board Is Failing
- Remotes stopped working, but the wall button still opens the door. The wall button runs on a different circuit than the remote receiver. When the receiver side of the logic board dies, the wall button keeps working and you’ll swear it’s the remote batteries. It’s not.
- The door only moves when you hold the wall button down the whole time. The logic board controls the safety sensor circuit. A failing board reads the photo eyes as blocked even when they’re clean and aligned, so it refuses to close on a normal press.
- The opener runs for half a second, then stops and flashes a code. The board’s motor driver circuit is failing. The motor itself is usually fine, but the board can’t hold the relay closed long enough to move the door more than a few inches.
- You have to reprogram the remotes and keypad every few weeks. A failing memory chip on the board forgets its codes. This one sneaks up on people because it works fine right after reprogramming, then loses it again.
- The lights on the opener flicker or stay on when they shouldn’t. The light control relay sits on the logic board. When it starts arcing internally, you get flickering, dimming, or lights that stay on long after the door closes.
Replacement Cost & What’s Included
For Hill Country Village, a Craftsman opener logic board repair lands between $120 and $320 installed. The spread comes down to which Craftsman series you have and whether it needs an OEM-compatible board or a quality aftermarket one. Parts for newer Craftsman openers (2005 and later) tend to sit at the lower end because the boards are more plug-and-play. Older units, especially late-1990s 139.xxxxx models where we need a matching aftermarket board with the right connectors, run at the higher end.
Every quote includes the board itself, removing the old part, securing the new one, reflashing or resetting the unit, testing remotes and keypad, and verifying the safety sensors and limit settings still work right. We don’t charge extra for the diagnostic once we’re on site doing the repair, and the price you get on the phone is the price you pay. Otto quotes the job himself and nobody revises it upward at the door. The labor is backed by the 90-Day Done Right Promise, and we’ll walk you through what the board’s failure history on your specific model tells us about whether anything else on that opener is getting tired. In Texas heat, logic boards cook in the garage ceiling. We’ll tell you honestly if the replacement is the fix or if you’re patching a unit that’s seen better years.
DIY or Call Us?
Logic boards live inside the opener’s plastic housing near high-voltage power connections. Even with the opener unplugged, the start capacitor can hold a charge that’ll bite. We don’t recommend opening that housing yourself unless you’re comfortable working around live electrical components and you’ve done it before. What you can check safely: make sure the opener is plugged in securely, confirm the outlet has power with something simple like a lamp, and check that the antenna wire hanging from the opener isn’t frayed or missing. If those basics look fine and you’re still seeing the symptoms above, the logic board is the likely culprit, and the part has to be matched exactly to your Craftsman model or you’ll burn up the new board in a week. That’s the part that goes wrong for DIYers: they buy a lookalike board online for the wrong revision and then chase their tails through three more part orders. Call Otto at (830) 215-8185 and we’ll bring the right one the first trip.
FAQs
You can expect a Craftsman opener logic board to last 10 to 15 years in Hill Country Village, though uninsulated garages that cook in the Texas summer shorten that. Heat is the board’s worst enemy: solder joints crack and capacitors swell when the garage ceiling hits 120 degrees month after month.
In most cases, no, and honestly it’s not worth it. Circuit-level board repair might extend the life a few months, but the labor to chase a cracked solder joint costs more than a new board, and there’s no way to guarantee the next failure isn’t weeks away. We replace the board and put the 90-Day Done Right Promise behind it.
Most Craftsman logic board replacements in Hill Country Village run 45 to 90 minutes from truck to test run. That includes pulling the old board, matching connectors, seating the new part, and reprogramming your remotes and keypad.
We do. Otto keeps Craftsman-compatible logic boards for the common 139.xxxxx series and newer models on the truck, plus boards that cross to LiftMaster, Chamberlain, and Genie units. If we somehow don’t have your exact board, we can usually source it from a local supplier the same week and give you a firm price before anything is ordered. Call (830) 215-8185 and we’ll confirm before you even set up an appointment.
If your Craftsman opener is acting up and you’re tired of guessing, call Otto’s Garage Door at (830) 215-8185. We’ll tell you honestly whether it’s the logic board or something simpler, quote the job on the phone, and show up in a truck with the name on the door. If I wouldn’t leave it on my own garage, I’m not leaving it on yours.
Written by Otto Reinhardt, Owner, Otto’s Garage Door at Otto’s Garage Door, serving Hill Country Village and nearby areas.