

Last updated September 11, 2026
Full 25-point door and opener safety check with every visit - springs, cables, rollers, tracks, and your LiftMaster or Chamberlain opener included
You get a price before we start. It does not change when the truck arrives.
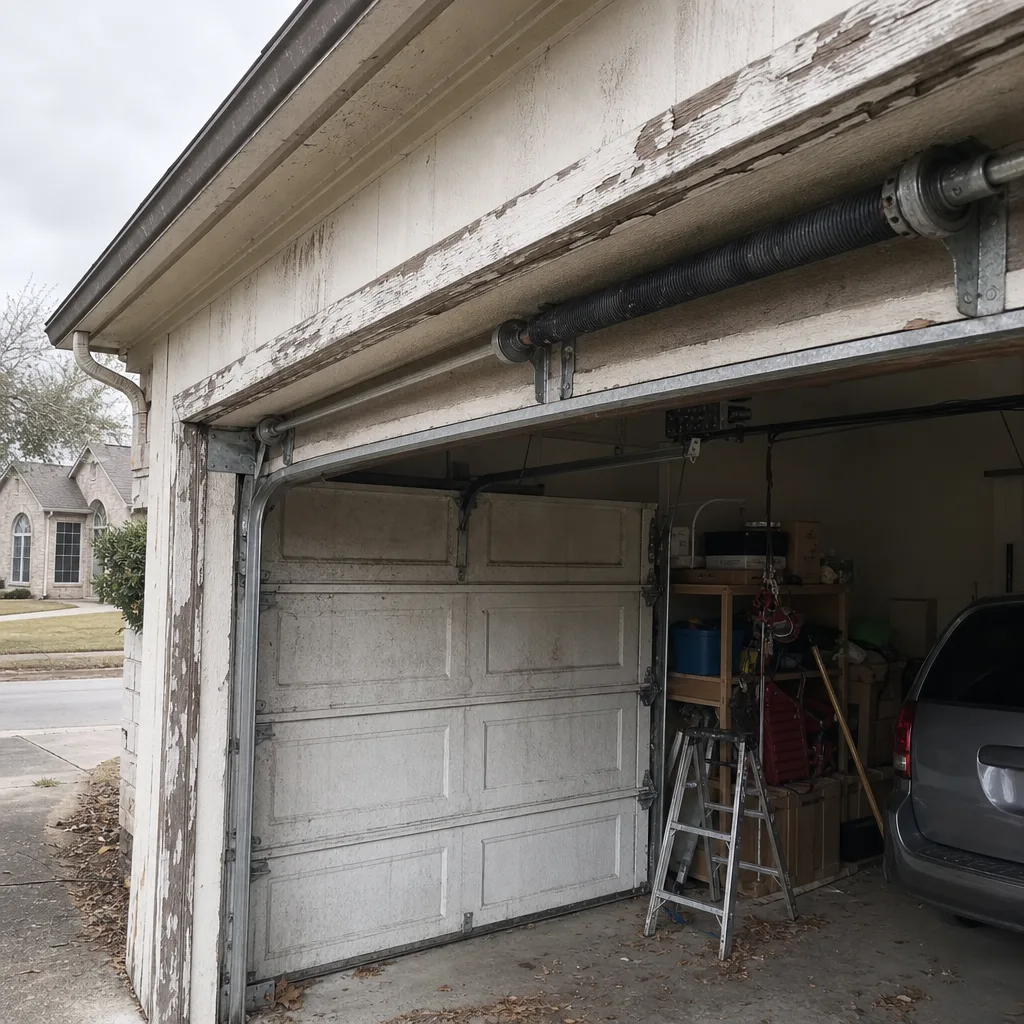 Before
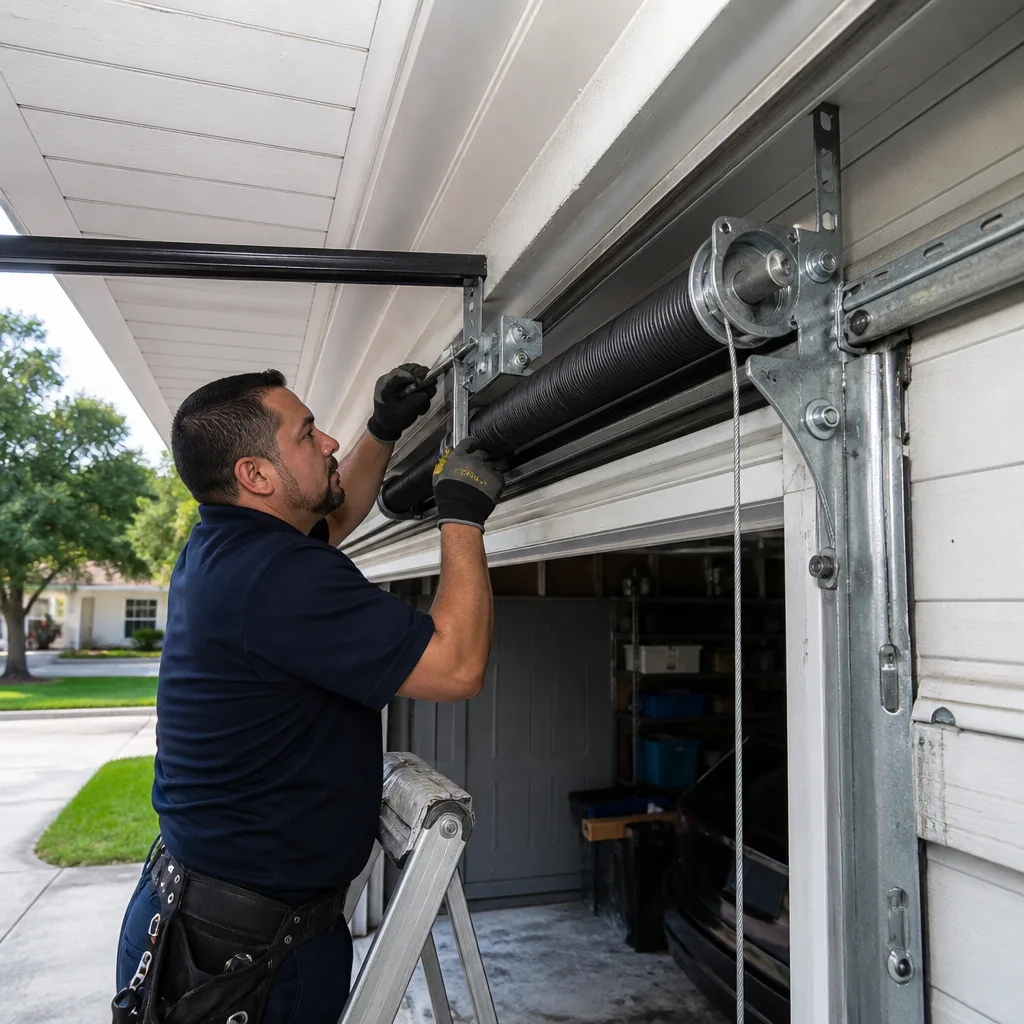 After
After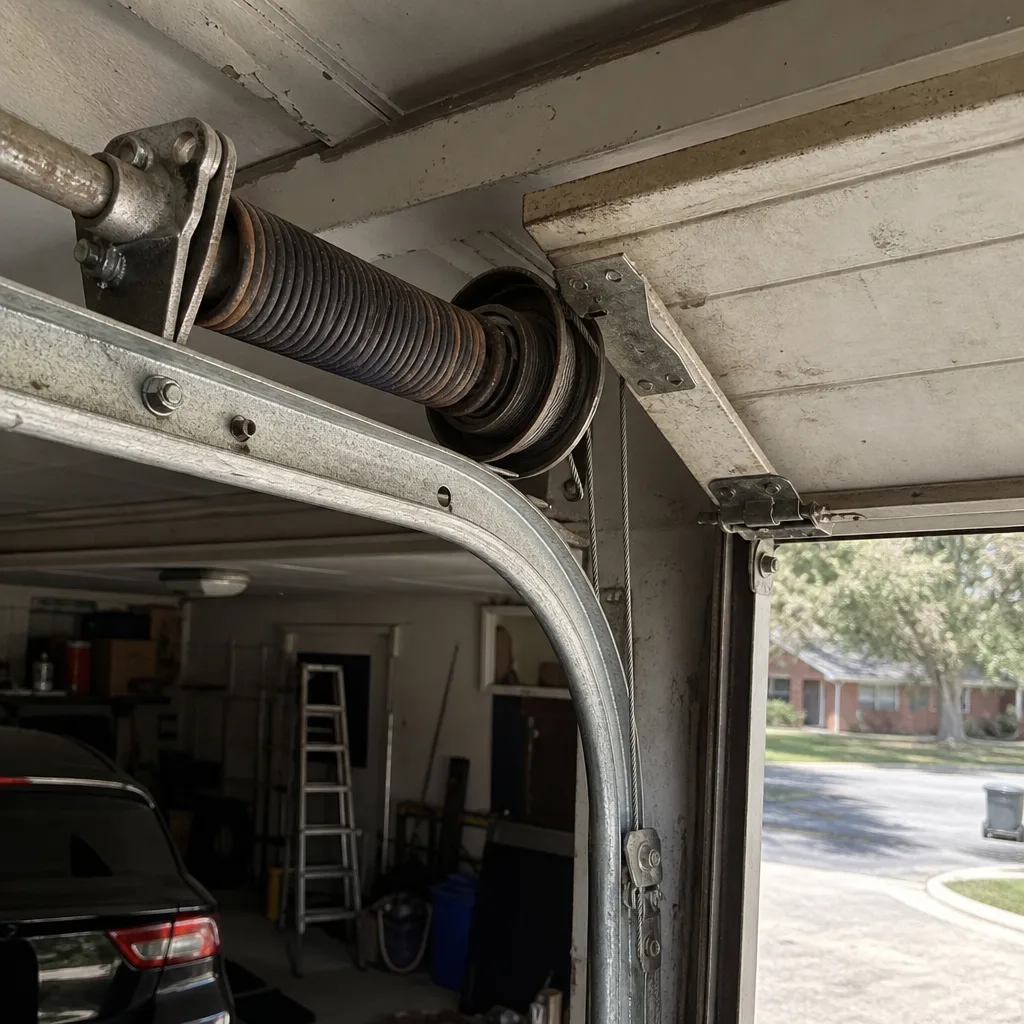 Before
 After
After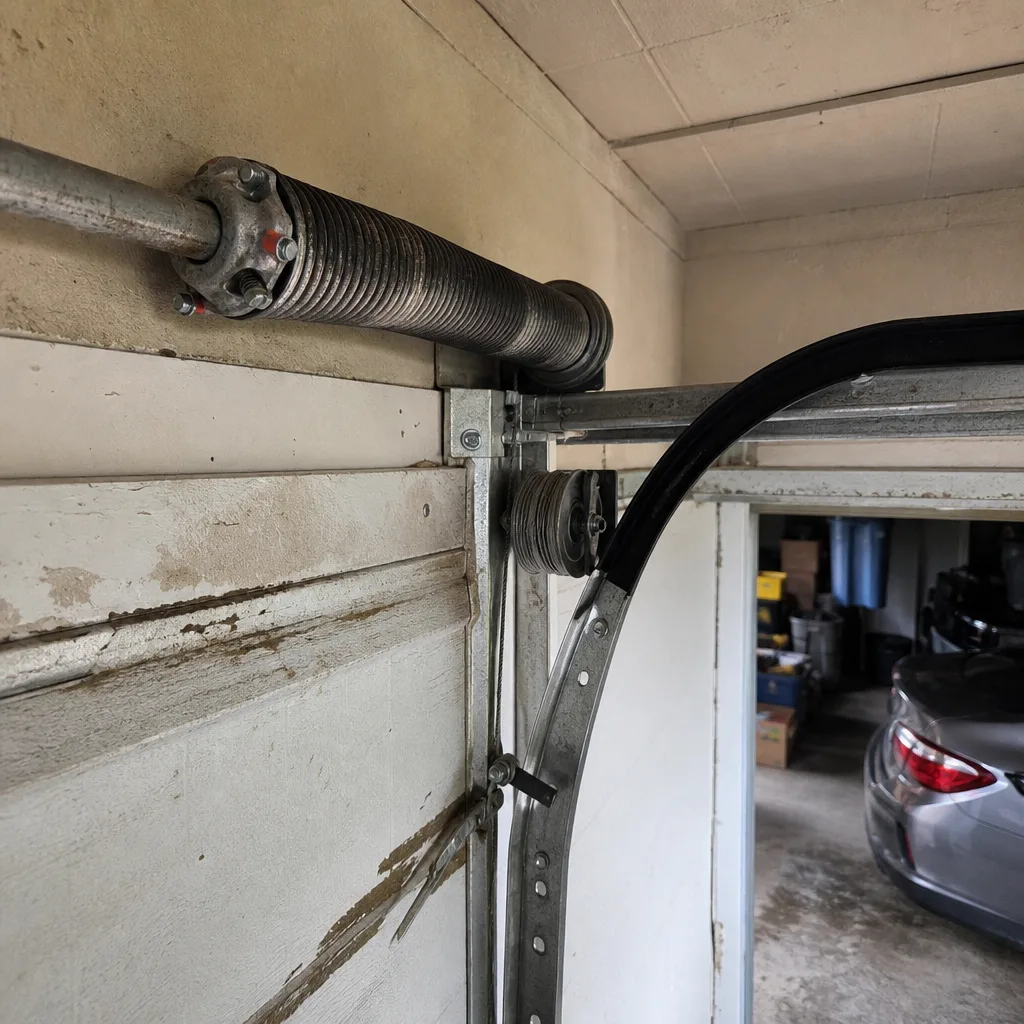 Before
 After
AfterDIY vs Professional Garage Door: The Hill Country Village Homeowner’s Decision Guide
Here’s something most garage door guides won’t tell you upfront: the line between a safe DIY job and a dangerous one has almost nothing to do with how handy you are. It has to do with whether stored mechanical energy is involved. A torsion spring on a double-wide Hill Country Village door holds roughly the same punch as a car door slamming on your hand, except that energy releases in a fraction of a second when the spring lets go. This guide draws the actual line, task by task, so you know which repairs are genuinely fine on a Saturday with basic tools and which ones deserve a phone call before you touch a single bolt. For more guides & resources, explore the rest of our blog.
Quick Answer
Most garage door maintenance in Hill Country Village is safe for a careful homeowner, including weather seal replacement, sensor cleaning, lubrication, and manual lock adjustment. But torsion spring replacement, cable work, and track repair should always be handled by a professional, because the stored energy in those components causes serious injuries even to experienced mechanics. When in doubt, call Otto’s Garage Door at (830) 215-8185 for a free estimate before you start.
Table of Contents
- The Real Physical Risks: What Actually Causes Injury
- DIY-Safe Tasks: What You Can Honestly Handle Yourself
- Never DIY: The Three Tasks That Send People to the ER
- The Hidden Costs of DIY: Tools, Parts, and Wrong Springs
- Warranty Clauses: When DIY Repairs Void Your Coverage
- The Three-Question Cost-Benefit Test
- Hill Country Village-Specific Factors That Change the Math
- Common Mistakes to Avoid
- When to Call a Professional
- Frequently Asked Questions
- The Bottom Line
The Real Physical Risks: What Actually Causes Injury
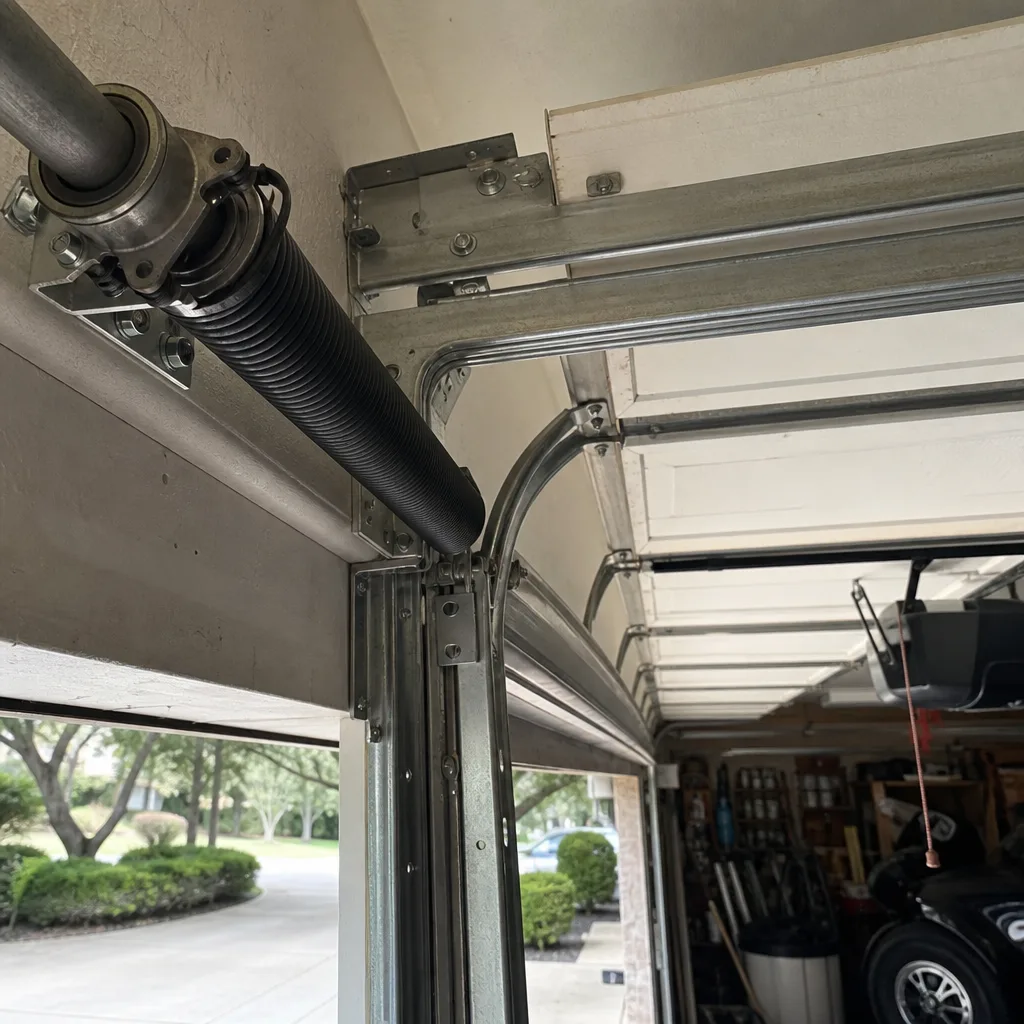
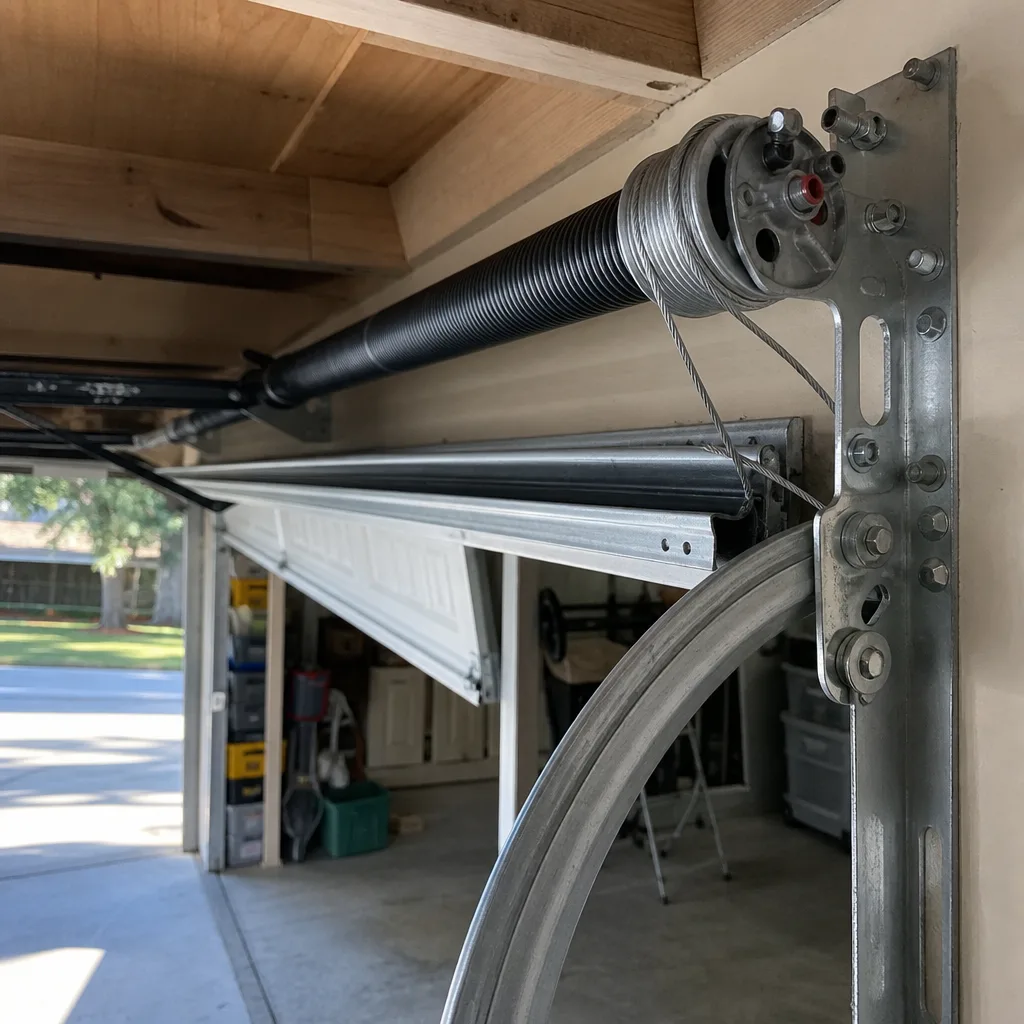
Let’s talk about the specific failure modes, not vague warnings. When a torsion spring breaks while a door is open, the spring doesn’t just snap. It unwinds. A standard residential torsion spring is wound with 7 to 8 full turns of tension, and each turn stores roughly 25 to 30 foot-pounds of torque. Multiply that across two springs and you’re looking at well over 200 foot-pounds of rotational energy that transfers instantly through the winding cone. If your winding bar is in that cone when it releases, the bar becomes a projectile moving fast enough to break bones or puncture tissue.
The second failure mode is what Otto sees around Hill Country Village more often than he’d like: a homeowner loosens the wrong set screw first. On a two-spring system, one spring carries tension while the other sits partially unloaded. Release the loaded one without securing the other and the imbalance throws the entire shaft, slamming the door down and taking the unwinding bar with it. This is not a “be careful” situation. This is mechanical physics that doesn’t care how cautious you are.
Extension springs fail differently but just as dangerously. When an extension spring snaps, the ends whip outward at high speed. Safety cables help, but only if they’re properly routed through the spring and anchored. Many older Hill Country Village homes built in the 1980s and 1990s have extension springs that were installed before safety cables became code-required. If you’re not sure what’s on your door, a quick visual check takes five minutes.
We’re not telling you this to scare you away from every repair. We’re telling you because a real expert always flags the danger first. A door is 200 pounds riding on two springs. Respect it.
DIY-Safe Tasks: What You Can Honestly Handle Yourself
Most of what goes wrong with a garage door in Hill Country Village is not a spring failure. It’s a worn seal, a misaligned sensor, a noisy roller, or a door that needs lubrication. These tasks are genuinely fine for a homeowner with basic tools, and we’ll walk you through each one.
1. Weather Seal Replacement
The rubber strip along the bottom of your door cracks after a few Texas summers. UV exposure and the heat radiating off your driveway bake the rubber until it splits. Replacing it takes about 30 minutes. You’ll need a replacement seal matched to your door’s width, a utility knife, and a screwdriver or a pair of pliers depending on whether your seal slides into a T-channel or screws onto the bottom bracket. Pull out the old seal, cut the new one to length, slide or screw it in place. That’s the whole job.
Hill County Village-specific note: our freeze-thaw cycles are mild compared to the Panhandle, but the summer heat is brutal. A quality rubber seal will last longer than a vinyl one, and it’s worth paying the extra few dollars for a seal rated for high-heat environments.
2. Sensor Cleaning and Alignment
If your opener’s safety sensors are blinking and the door refuses to close, the fix is often a wipe with a dry cloth and a gentle adjustment. The sensors sit on either side of the door, about six inches off the ground. Dust, spider webs, and the fine limestone grit that blows around Hill Country construction sites build up on the lens. Clean both lenses, then check that the small indicator lights on each sensor are solid, not flickering. If one is off or blinking, loosen the wing nut holding the sensor, adjust the angle until both lights go solid, and tighten it back down.
This takes ten minutes and costs nothing. It’s the single most common service call that Otto resolves over the phone in under two minutes.
3. Manual Lock Adjustment
If your door has a manual slide lock on the inside and it’s not engaging smoothly, the fix is usually a simple alignment. The lock bar needs to slide cleanly into the track slot. Over time, the brackets shift slightly as the door flexes. Loosen the two screws holding the lock bracket, reposition it so the bar travels straight, and retighten. No special tools, no risk, no cost.
4. Basic Lubrication
A noisy garage door is usually a dry one. Use a silicone-based garage door lubricant (not WD-40, which is a cleaner and not a lubricant) on the rollers, hinges, and the torsion spring itself. Apply a light coat to the spring’s surface, not enough to drip, and work the door up and down twice to distribute it. Do this twice a year, before summer and before winter. It takes fifteen minutes and extends the life of your springs measurably.
5. Tightening Loose Hardware
Garage doors vibrate with every cycle. Over time, the nuts and bolts holding the track brackets, hinges, and opener rail work themselves loose. You’ll need a socket set and a ladder. Go around the door and snug everything that’s visibly loose. Do not overtighten the lag bolts on the track brackets against the wall, or you’ll strip the wood and create a bigger problem than you started with. Snug, not cranking.
Never DIY: The Three Tasks That Send People to the ER
Now the hard list. These are the three jobs that, regardless of your mechanical skill, you should not attempt on your own. Not because Otto wants the work, but because the failure mode is specific and brutal.
1. Torsion Spring Replacement
We covered the physics above, but here’s what the injury reports don’t tell you: the most common victim of torsion spring accidents is not an untrained homeowner. It’s an experienced mechanic or a machinist who has worked with tools their whole life and figured garage door springs would be straightforward. They’re not. The winding cone requires a specific technique with two winding bars inserted fully, and the sequence of set screw loosening and spring winding has to be exact. A half-turn mistake can release the stored energy instantaneously.
Specific parts of this job that go wrong: using the wrong diameter winding bar (it has to fit the cone perfectly, not be “close enough”), standing in the wrong position while winding, and not marking the spring’s position before removal so you can’t reset tension correctly on the new one. A new torsion spring in Hill Country Village costs between $80 and $200 for the part alone, depending on wire gauge and length. The hospital visit costs considerably more.
2. Lift Cable Replacement
The lift cables run along both sides of the door and connect the bottom brackets to the torsion shaft. They carry the full weight of the door when it’s in motion. If a cable frays and breaks while the door is partially open, the entire door drops. If the door is in the raised position when a cable fails, the unbalanced load slams the door down at a speed that can crush anything underneath it.
Replacing a cable requires unwinding the torsion spring to release tension, swapping the cable, and rewinding the spring to the correct tension. You can see the problem: it’s a spring job with extra steps. The cable itself is cheap, maybe $25. The knowledge required to do it safely is not cheap, and it’s not learnable from a YouTube video while your fingers are in the danger zone.
3. Track Repair or Realignment
If your door is binding, jumping, or scraping against one side of the track, the track itself may be bent or out of alignment. The tracks are bolted to the wall and ceiling, and they guide a door that weighs between 150 and 400 pounds depending on the model. Adjusting tracks requires the door to be supported at a specific height, the springs to be under correct tension, and the track brackets to be repositioned within tight tolerances. A misaligned track under load can cause the door to derail entirely, and a derailed door is a catastrophic failure.
If you hear a grinding sound when the door moves, stop using the door and call someone who can assess it. The problem will not fix itself, and continuing to operate the door with a damaged track will accelerate the wear and make the eventual repair more expensive.
The Hidden Costs of DIY: Tools, Parts, and Wrong Springs
Let’s talk dollars, because the financial argument for DIY spring work often falls apart once you look at it honestly. For a complete picture of what professional service costs, see our Garage Door Cost Breakdown: The Hill Country Village Homeowner’s Reference for 2026. Here’s what a Hill Country Village homeowner actually pays when they attempt a torsion spring replacement themselves.
First, the winding bars. You’ll need two, and they have to be the correct diameter for your spring’s winding cone. Using rebar or a screwdriver shaft is how people get hurt. A proper set of winding bars costs $25 to $40. You’ll also need a socket set, an adjustable wrench, and possibly a ladder rated for your weight while working overhead. If you don’t already own these, add another $75 to $100.
Then the springs. Standard residential torsion springs come in dozens of wire gauges, lengths, and inside diameters. A 0.207 x 2″ x 24″ spring is not interchangeable with a 0.218 x 2″ x 26″ spring. Order by your door’s weight and height, not by the part number on your old spring unless you can read it clearly, and even then, springs age differently. The wrong gauge means the door won’t balance, which means the opener strains, which means you’ll be replacing the spring again in eighteen months and possibly damaging the opener in the process. A single correct spring runs $80 to $150 online. Two springs, because you should always replace both at once, runs $160 to $300.
So your DIY total is somewhere between $200 and $450 in parts and tools, plus four to six hours of your time, plus the risk of ordering the wrong spring, plus the risk of injury. A professional replacement with a warranty and a balanced door typically runs $250 to $400 per spring in the Hill Country Village market, with the job done in under two hours and the price quoted before the work starts. The savings from DIY spring work is marginal at best, and the downside is catastrophic.
For contrast, weather seal replacement costs about $40 in parts and is a genuinely reasonable DIY job. Lubrication costs $15 for a can of silicone spray. Sensor cleaning costs nothing. The DIY savings are real on the safe tasks and essentially nonexistent on the dangerous ones.
Warranty Clauses: When DIY Repairs Void Your Coverage
Before you start any repair, check your door and opener warranties. Most manufacturers include specific language about unauthorized modifications or repairs, and local regulations may also apply-see our guide to Garage Door Permits, Codes & Inspections in TX: What You Need to Know. Here are the three warranty clauses to look for.
1. “Repairs performed by unauthorized personnel”
This is the standard exclusion clause found on LiftMaster and Chamberlain opener warranties, and on door warranties from Clopay and Amarr. If you open the opener housing and modify the motor, the logic board, or the safety systems, and the unit fails within the warranty period, the manufacturer will deny the claim. Your opener warranty is typically 5 years on the motor and 1 year on parts, so a DIY opener repair gone wrong can cost you the full replacement price, which runs $200 to $500 plus installation.
2. “Spring replacement must be performed by a qualified technician”
Some door manufacturers explicitly state that spring replacement voids the door’s structural warranty if performed by an unqualified person. Wayne Dalton doors, in particular, use a proprietary TorqueMaster spring system that sits inside a tube and requires a specific tool to adjust. Attempting to service a TorqueMaster spring without the proper tool and knowledge can damage the internal components, and the manufacturer will not cover the resulting repair.
3. “Failure caused by improper installation of replacement parts”
This clause appears in almost every warranty, and it’s the catch-all that matters most. If the part you install fails and causes secondary damage, the secondary damage is not covered. A poorly balanced door after a DIY spring job can stress the opener’s gear and sprocket until it strips. That’s a $150 to $250 repair that your opener warranty will not cover, because the root cause was the unsanctioned spring work.
The practical takeaway: read the fine print before you start. If your door or opener is under warranty, the cost-benefit analysis shifts strongly toward professional repair, because a denied warranty claim erases any DIY savings instantly.
The Three-Question Cost-Benefit Test
When a homeowner calls Otto’s Garage Door in Hill Country Village and asks whether they should try a repair themselves first, Otto doesn’t give a blanket answer. He asks three questions. Here they are.
Question 1: Does this repair involve stored mechanical energy?
If the answer is yes, the decision is made. Call a professional. Torsion springs, extension springs, and lift cables all store energy. The risk isn’t about your skill level. It’s about physics.
Question 2: What is the realistic total cost of my DIY attempt, including my time and the chance I get the wrong part?
For seals, sensors, locks, and lubrication, the answer is low. For springs, the answer is surprisingly close to a professional quote once you count tools, parts, time, and the real possibility of ordering the wrong spring gauge and starting over. Be honest with yourself about that math.
Question 3: If I make it worse, what does that cost?
A misaligned sensor is easy to fix. A door that derails because you tried to adjust a track under tension is not. The worst-case scenario for a DIY spring job is an emergency room visit or a damaged opener. The worst-case scenario for a DIY weather seal is buying another seal. Weigh the downside separately from the upside.
If you work through those three questions honestly, most homeowners land on the same answer: do the safe tasks yourself, call a professional for the rest. For a printable list of what to check and when, see our Garage Door Repair Maintenance Checklist for Hill Country Village Homeowners. That’s not a sales pitch. That’s what Otto tells his own neighbors.
Hill Country Village-Specific Factors That Change the Math
Living in Hill Country Village affects your garage door in ways that a generic national guide won’t mention. Here’s what we see on doors across the area that you should factor into your decision.
Heat and UV Exposure
Our summers regularly push triple digits, and the sun beats directly on south-facing and west-facing doors for hours every afternoon. That heat degrades rubber seals faster than the manufacturer’s suggested replacement intervals. We see bottom seals on Hill Country Village doors cracking and splitting within two to three years when the manufacturer lists a five-year lifespan. This makes weather seal replacement a regular task here, and it’s one you can absolutely do yourself.
Limestone Dust and Sensor Failures
The limestone that defines our part of Texas produces a fine white dust that coats everything. It builds up on sensor lenses faster than in other climates, and it works its way into roller bearings and hinge pins. The sensor cleaning we described earlier is not an occasional fix in Hill Country Village. It’s a quarterly maintenance item for many homes, especially those near recent construction or unpaved lanes.
Older Home Stock
Many Hill Country Village homes were built in the 1970s through 1990s, which means original extension spring systems are still common. Extension springs are less expensive than torsion springs, but they fail more abruptly and can cause injury if safety cables are missing. If your door has two long springs running parallel to the tracks on either side, take five minutes to check whether safety cables run through the center of each spring. If they’re missing, the springs are a hazard regardless of whether you ever attempt a repair.
Temperature Swings and Spring Cycles
Springs are rated in cycles, not years. A standard spring is rated for 10,000 cycles, which translates to roughly 7 to 10 years for most Hill Country Village homeowners. But temperature swings affect metal fatigue, and springs in unconditioned garages here tend to age faster than the cycle rating suggests. If your door is 8 to 10 years old and the springs have never been replaced, they’re on borrowed time, and a spring failure is more likely to happen during the first cold snap of winter, which is also when emergency calls spike.
You can learn more about our local repair approach on the Garage Door Repair in Hill Country Village page, and if you’re considering a new door for a home that’s changing hands or changing needs, the Garage Door Installation in Hill Country Village page covers the options and the process.
Common Mistakes to Avoid
- Using the wrong tool as a winding bar. Rebar, screwdriver shafts, and pry bars are not substitutes for proper winding bars. A bar that slips out of the cone is the single most common injury mechanism in torsion spring accidents. If you’re winding a spring with anything other than a purpose-made winding bar, you’re gambling.
- Replacing only one spring. When one torsion spring breaks, the other is at the end of its life too. Replacing just one creates an unbalanced door that wears out the new spring prematurely and strains the opener. Replace both springs at the same time, every time.
- Using WD-40 as a garage door lubricant. WD-40 is a solvent, not a lubricant. It cleans off old grease but doesn’t replace it. Use a silicone-based garage door lubricant on rollers, hinges, and springs. The right product costs the same as a can of WD-40 and actually does the job.
- Disconnecting the opener while the door is open. If you pull the red release cord to disconnect the opener while the door is raised, the door will stay up only if the springs are balanced and the cables are intact. If either is failing, the door crashes down. Only disconnect the opener when the door is fully closed, unless you’re certain the door is properly balanced.
- Tightening track bolts too aggressively. The lag bolts that hold the track brackets to the wall frame are screwed into wood, often older wood in Hill Country Village homes. Cranking them too tight strips the hole and leaves the track unsecured. Snug is enough.
- Ignoring a noisy door. A garage door that suddenly gets loud is telling you something. It might be a dry roller, or it might be a spring binding. If lubrication doesn’t quiet the door within a day, stop using it and get it inspected. A door that fails while opening is a bigger problem than a door that fails while closed.
- Ordering parts by price alone. The cheapest torsion spring on the internet is rarely the right gauge for your door, and it’s often a lower-cycle spring that will fail again in two years. If you’re going to order parts yourself, verify the exact specifications against your existing spring, not against the lowest price you can find.
When to Call a Professional
Call a professional when the repair involves a torsion spring, a lift cable, or a track adjustment. Call when your door is 8 to 10 years old on original springs and you want to replace them before failure rather than after. Call when your opener is straining, grinding, or reversing on its own. Call when you’ve tried the safe DIY fixes and the problem persists. And call when you open this guide, read the torsion spring section, and realize that no amount of YouTube preparation is worth the risk. Otto’s Garage Door offers free estimates in Hill Country Village. The number is (830) 215-8185, and the price you’re quoted on the phone is the price you’ll see on the invoice, not a starting point. We’ve been doing this since 2004, and we’re Otto’s Garage Door home to homeowners across the county, not a call center in another state.
Frequently Asked Questions
Professional torsion spring replacement in Hill Country Village typically runs $250 to $400 per spring, including parts and labor, with both springs replaced as a set so the door stays balanced. DIY parts cost $160 to $300 for two springs plus $25 to $40 for winding bars, but the risk of injury and the chance of ordering the wrong spring gauge make the professional route the better value for most homeowners. Call (830) 215-8185 for an exact quote before you decide.
You can, but you shouldn’t. Torsion springs store 200 or more foot-pounds of torque when wound, and a mistake during installation releases that energy through the winding bar fast enough to cause serious injury. This is the one repair where even experienced mechanics get hurt, and the DIY savings after tools and parts are usually less than $100. For a safe job done right, call a professional.
Yes. Lubrication is one of the safest and most beneficial DIY garage door tasks you can do. Use a silicone-based lubricant on the rollers, hinges, and torsion spring surface twice a year. Avoid WD-40, which cleans but doesn’t lubricate. This takes fifteen minutes and extends the life of your springs and rollers.
The most common issue we see in Hill Country Village is sensor failure caused by limestone dust buildup on the lenses. The fine white dust from our soil coats the sensors and interrupts the beam, making the door refuse to close. Cleaning both lenses with a dry cloth fixes it most of the time, and it’s a repair you can do yourself in under ten minutes.
Look for a gap in the spring coil, listen for a loud bang when the door moves, or watch for the door feeling heavy when you lift it manually with the opener disconnected. If you see any of these signs, stop using the door and call a professional. Springs typically fail suddenly, and the warning signs are easy to miss.
It depends on the repair and the manufacturer. Genie, Wayne Dalton, and most other major brands exclude damage caused by unauthorized repairs or improper part installation. Spring work and opener modifications are the most common warranty-voiding issues. Check your warranty’s exclusion clause before you start any repair, and weigh the denied-claim risk against your DIY savings.
The Bottom Line
The DIY question isn’t about whether you’re handy. It’s about what kind of energy is sitting inside the component you want to fix. Weather seals, sensors, locks, and lubrication are all safe, worthwhile DIY tasks that save you real money and take an afternoon at most. Springs, cables, and tracks are not, and the risk isn’t just injury. It’s the hidden cost of the wrong parts, the voided warranties, and the damage that happens when a door fails at the wrong moment. If you’re in Hill Country Village and you’re not sure which side of the line your repair falls on, call (830) 215-8185. Otto will tell you straight, and the estimate is free.
Written by Otto Reinhardt, Owner at Otto’s Garage Door, serving Hill Country Village since 2004.